Magnetic particle testing
Reference blocks
MT reference blocks and test bodies
Magnetic particle testing, MT, Magnetic, MP testing, fluxing
Reference blocks
Reference blocks are used in surface crack detection using magnetic particle testing. They serve
- the proof
- control and
- monitoring
of the indication sensitivity.
The standard EN ISO 9934-2 "Non-destructive testing - Magnetic particle testing - Part 2: Test equipment" describes the design of the reference blocks.
Two important reference blocks for the standardised performance of magnetic particle testing are:
- Reference block 1
- Reference block 2
Reference block 1
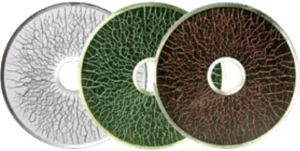
Reference block 1 is used to demonstrate the indication sensitivity of magnetic powder suspensions.
Reference block 1, a remanent magnet, consists of a disk with a hole and two types of natural cracks:
- rough grinding cracks
- fine stress corrosion cracks
The reference block was permanently magnetised through the hole by means of a central conductor. The evaluation of a magnetic powder suspension is carried out by visual or metrological comparison of the indications with the indication image of a reference test material prepared under the same test conditions.

Reference block 1 according to EN ISO 9934-2 with black magnetic powder suspension on white background, as well as with yellow-green and orange-red fluorescent magnetic powder suspension
The reference block 1 is manufactured and tested by HELLING as described in EN ISO 9934-2.
It is available with certificate.
Reference block 2
The reference block 2 is used for controlling and monitoring the sensitivity of indications of magnetic powder suspensions.
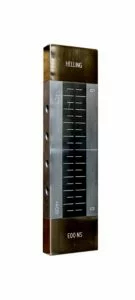
The reference block 2 consists of two steel blocks precisely ground into each other and separated by an Al foil (15 µm). Thus, they form an artificial crack. On each of the two front faces there is a permanent magnet, which is covered by a brass layer. The magnet generates a magnetic leakage flux above the separation layer, which becomes weaker with increasing distance from the magnet.
If the reference block 2 is rinsed with a magnetic powder suspension, indications are formed which are more pronounced at the ends and decrease towards the center.
The indication lengths are a measure of the suitability of the magnetic powder suspension being controlled. The sum of the lengths of the left and the right indications is evaluated.

Reference block 2 according to EN ISO 9934 for controlling and monitoring the sensitivity of indications of a magnetic powder suspension
Reference block 2 according to EN ISO 9934-2 is also available with certificate.
Lifting force test body TB-2
Test bodies are used to detect the
- Field strength
- Magnetisation direction
- Sensitivity of indications of the test material system or
- Lifting force
Berthold Penetrameter
Probably the best known test body is the Berthold Penetrameter for proving sufficient field strength and magnetisation direction.

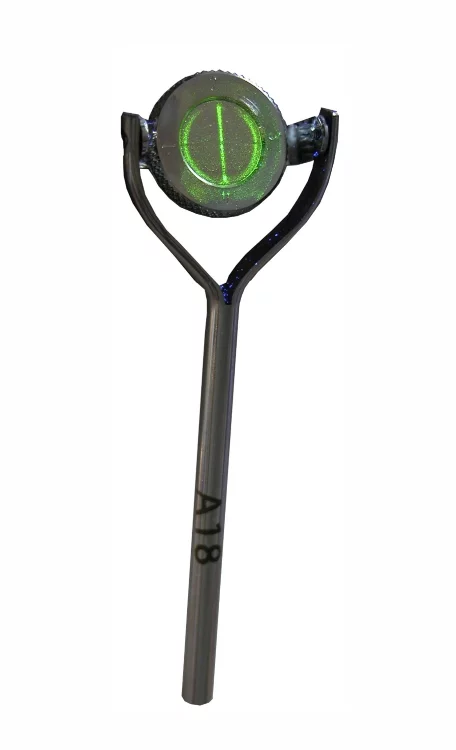
Berthold penetrameter to determine the direction of magnetisation and to prove sufficient field strength
A soft iron cylinder is divided into four sectors. These are separated by a gap of approx. 0.15 mm width. This creates - viewed from above - a cross-slot. The top of the cylinder is covered with a thin, non-ferromagnetic metal foil.
Proof of field strength
If the test body is placed on a magnetised test object, a part of the magnetic field lines flows through the soft iron cylinder. If the magnetisation is sufficient, one or the other gap of the cross-slot will appear on the metal foil after rinsing with a fluorescent magnetic powder suspension.
Magnetisation direction
To detect the direction of magnetisation, the test body is slowly rotated around its vertical axis until the indication of one of the two gaps shows a clear maximum. The determined magnetisation direction is then perpendicular to it.
Here you can find more products and information about test bodies and reference blocks for magnetic particle testing
 +49 4122 922 - 0
  info@helling.de
  Mo. - Do. : 8:00 - 16:30 Fr. : 8:00 - 13:00


